Payments
Choose how buyers pay at checkout: the test gateway on staging, your own XPay account, and manual methods such as cash on delivery.
In Settings, press Payments. The page says How buyers pay at checkout, in the store currency. It has three parts: Payment provider (who takes card payments), Connect XPay (your own XPay account) and Manual payment methods (payments made outside RetailPrime).
Before you choose
A new store has no provider: Not set up: checkout says the store cannot take payments yet.
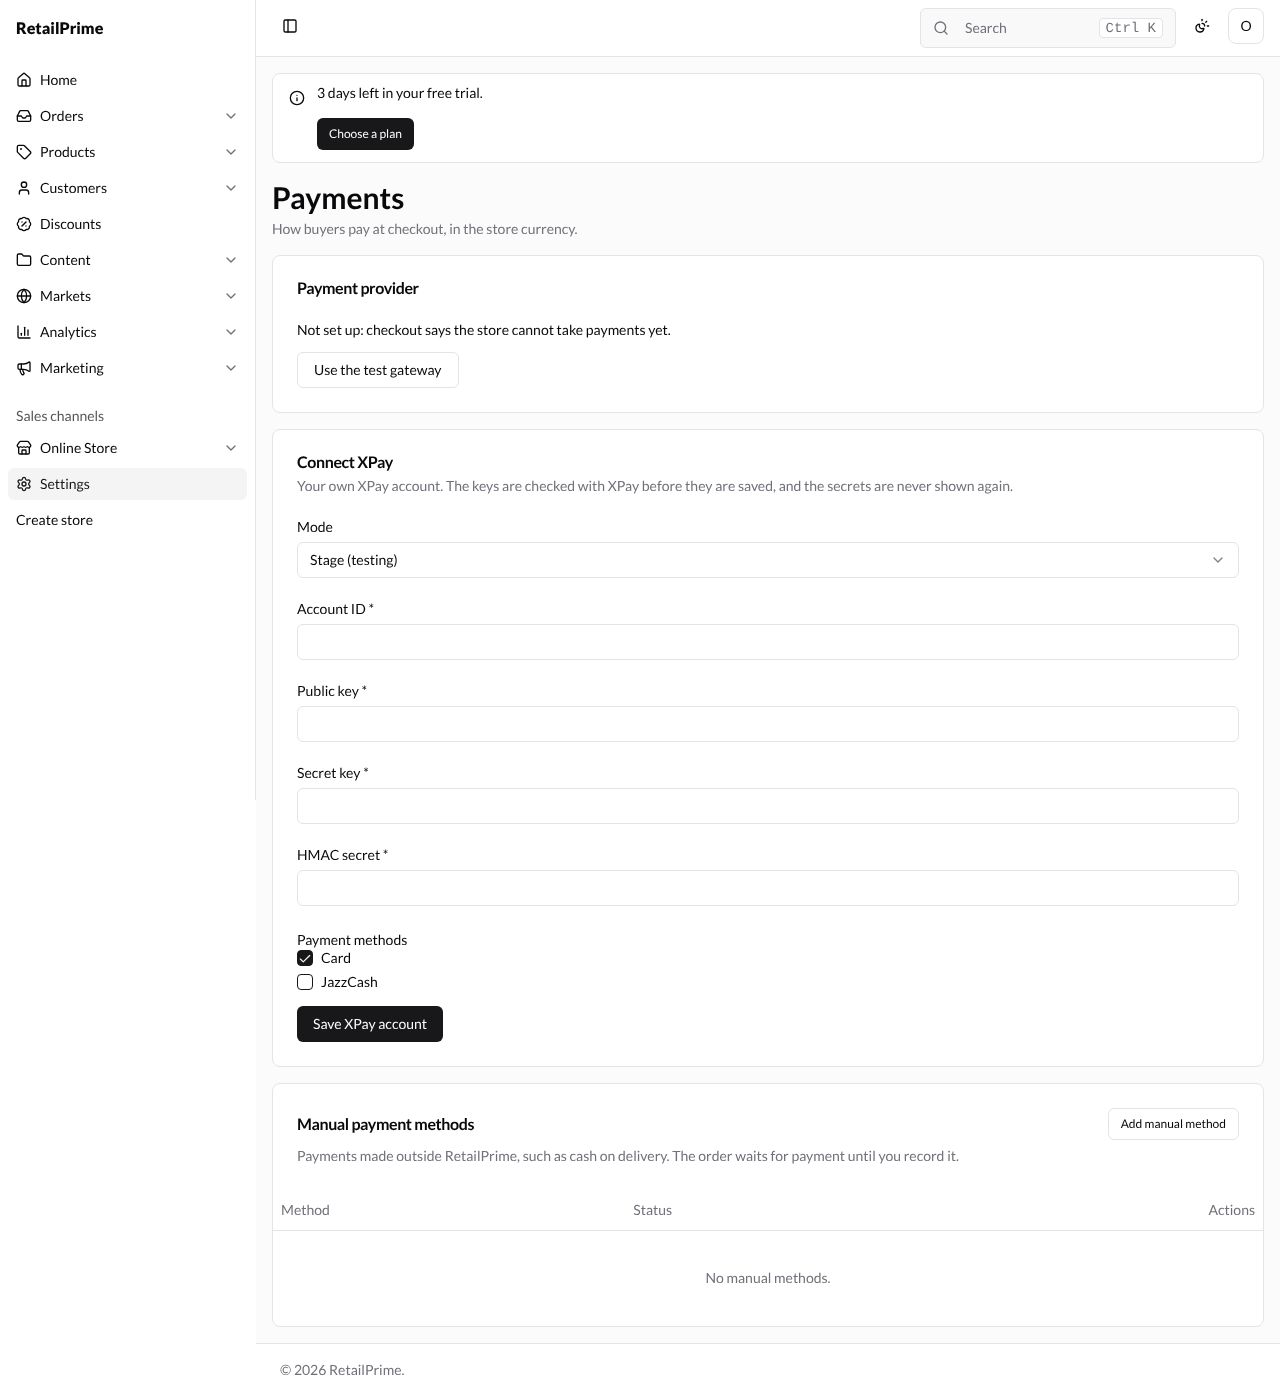
Use the test gateway (staging)
On staging, press Use the test gateway. The provider becomes Test gateway (no real payments). At checkout, buyers then choose a test card instead of typing a real one, as Shipping and delivery shows.
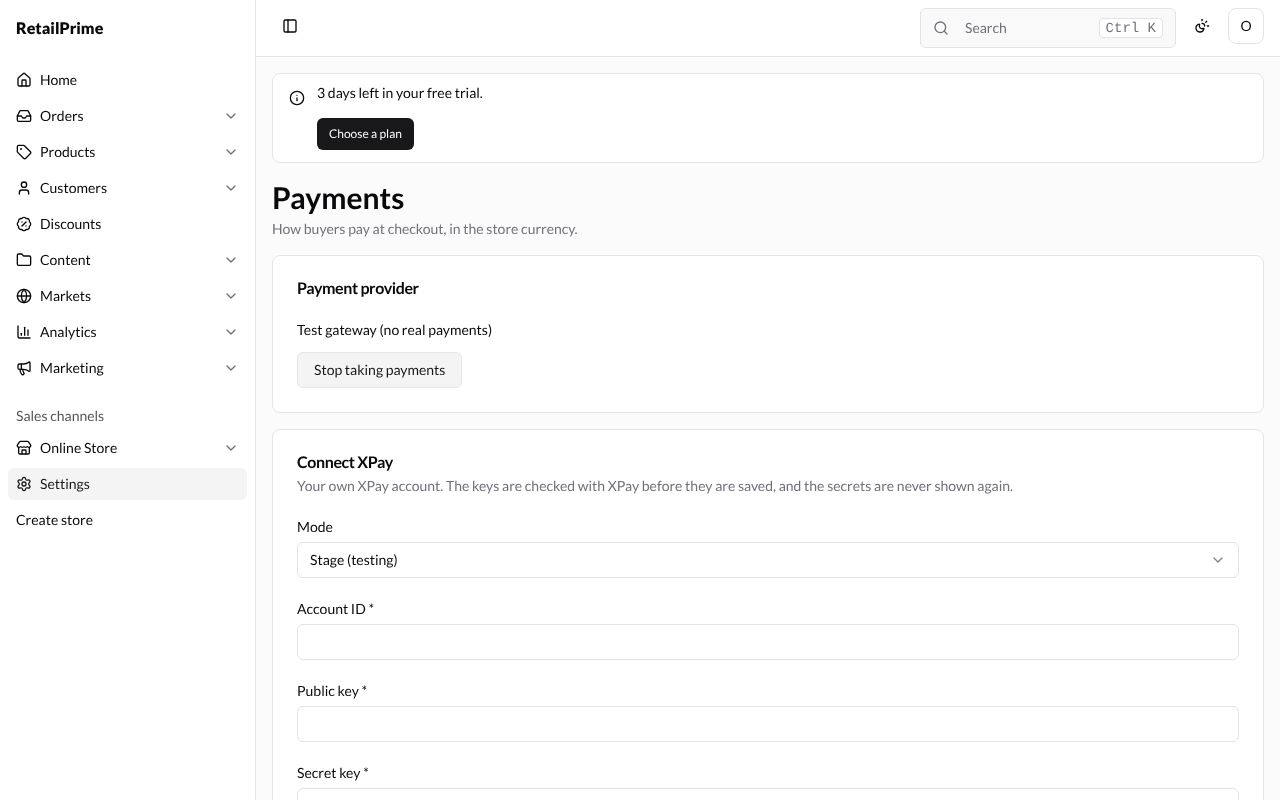
Stop taking payments takes the provider away again, and checkout goes back to saying the store cannot take payments.
Connect XPay
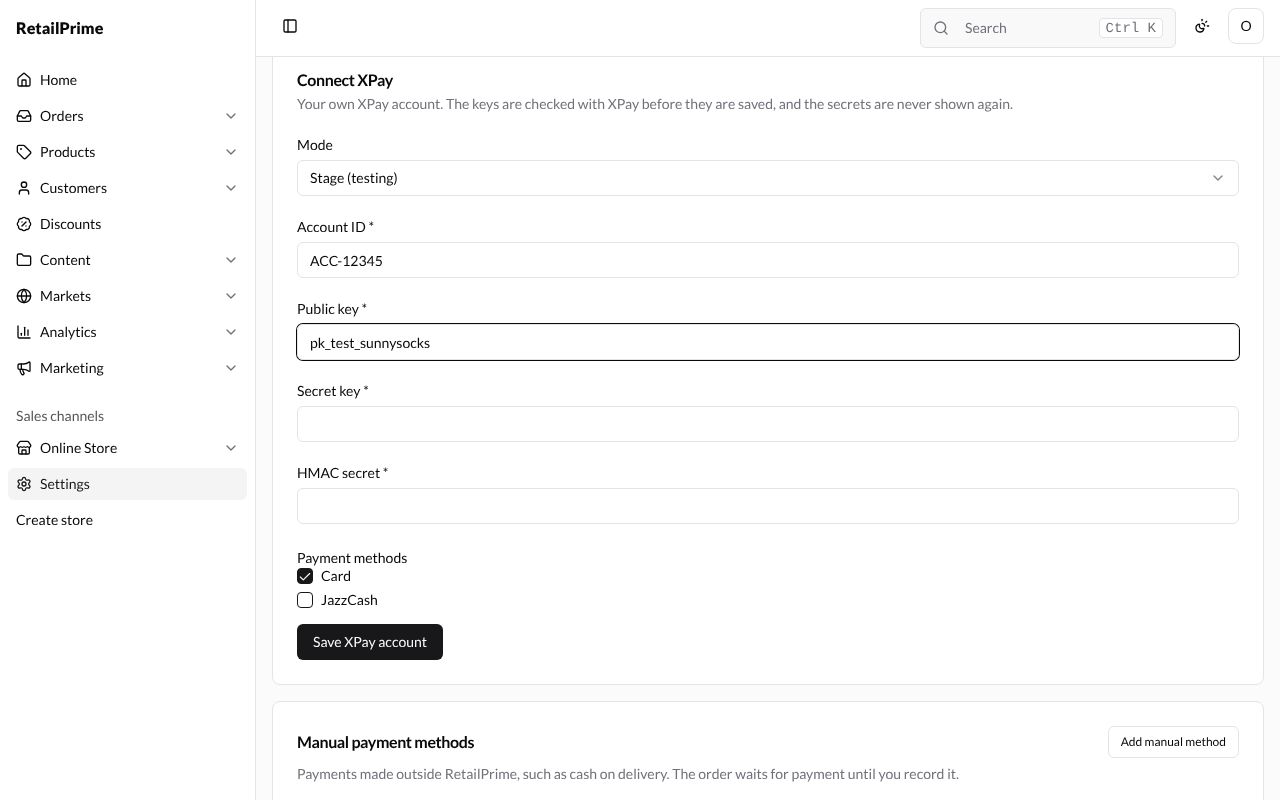
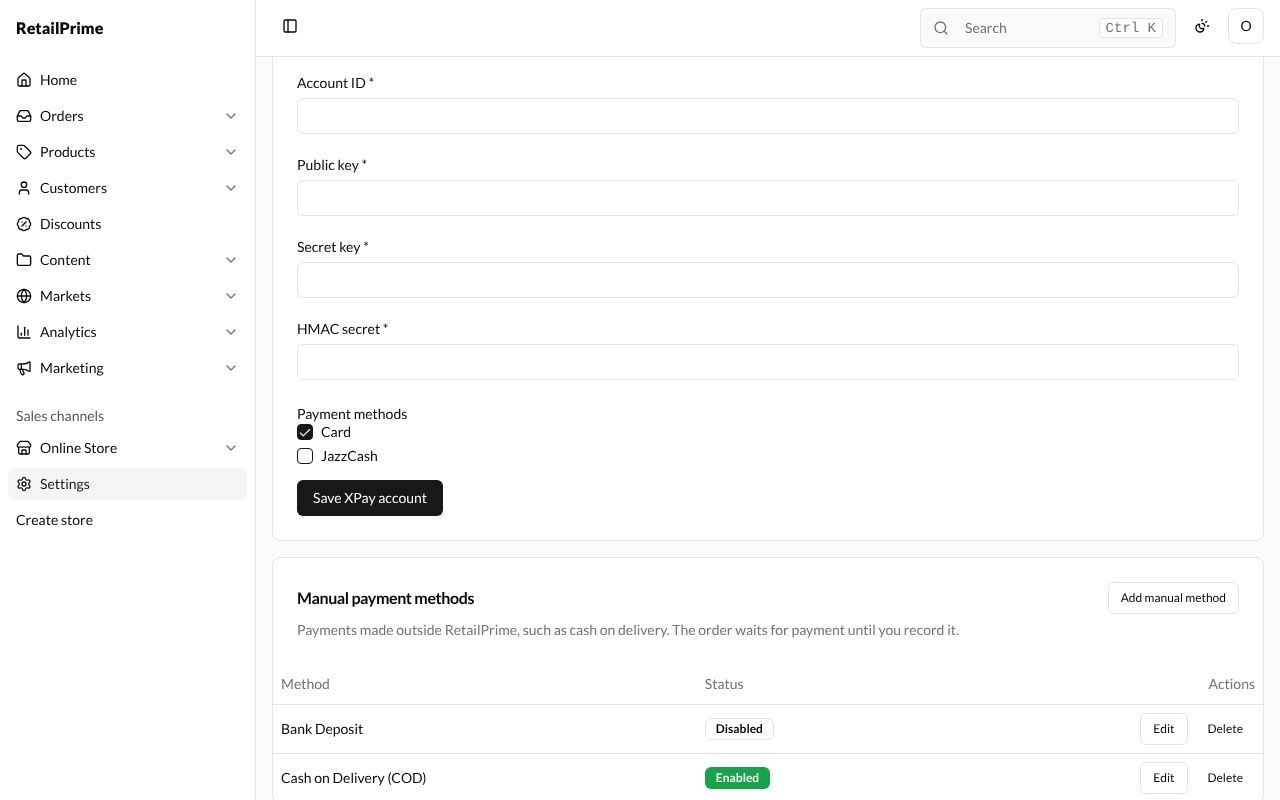
Connect XPay says Your own XPay account. The keys are checked with XPay before they are saved, and the secrets are never shown again.
| Box | What to type |
|---|---|
| Mode | Stage (testing) or Live |
| Account ID (required) | Your XPay account ID, from XPay |
| Public key (required) | Your XPay public key |
| Secret key (required) | Your XPay secret key (shown as dots) |
| HMAC secret (required) | Your XPay HMAC secret (shown as dots) |
| Payment methods | Tick Card, JazzCash or both |
Then press Save XPay account. Once saved, the provider shows XPay, with your account, mode, the end of your public key and the methods, and the card is called Replace the XPay account.
Manual payment methods
Payments made outside RetailPrime, such as cash on delivery. The order waits for payment until you record it. (Part 3, Payments and refunds, shows how to record one.)
Add a manual method
- Press Add manual method.
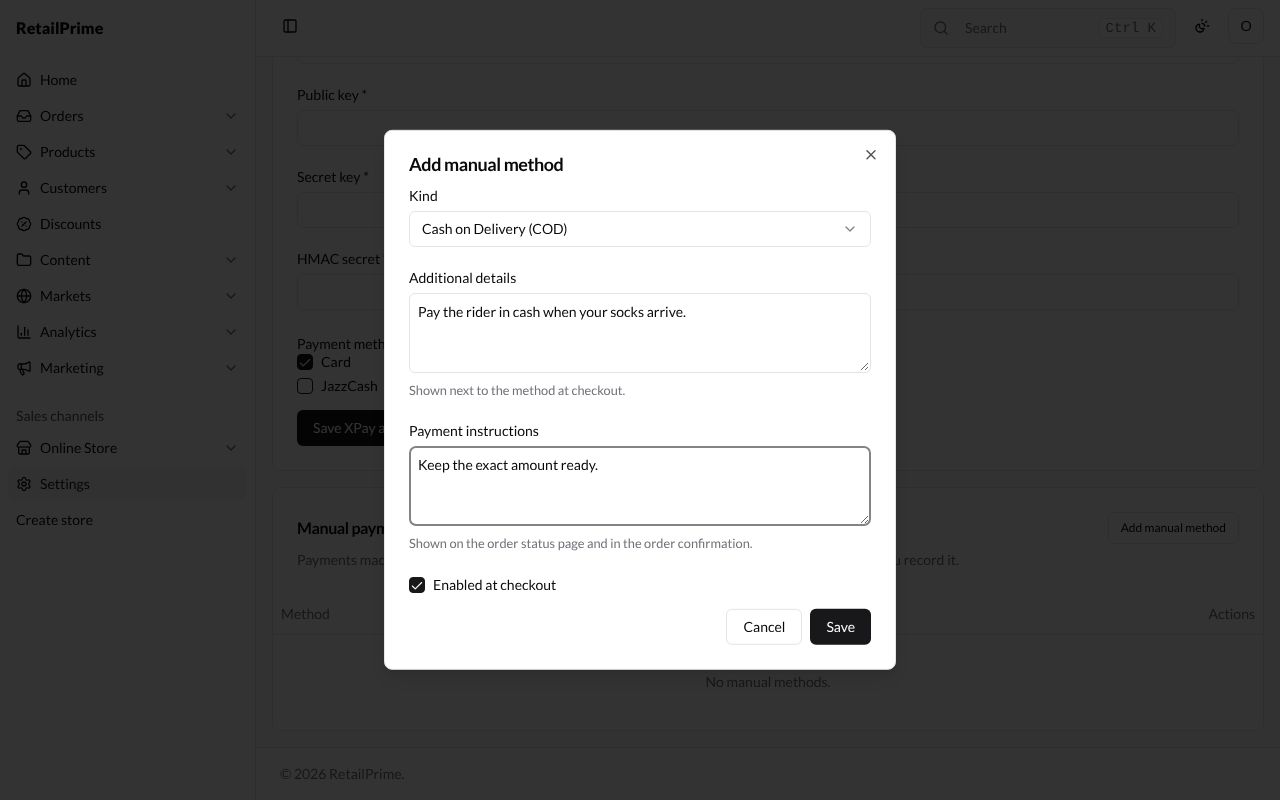
- Fill in the window:
| Box | What to type | Example |
|---|---|---|
| Kind | Cash on Delivery (COD), Bank Deposit, Money Order or Custom payment method. Each named kind can be added once | Cash on Delivery (COD) |
| Custom payment method name (only for a custom method, required) | Its name | Easypaisa transfer |
| Additional details | Shown next to the method at checkout. | Pay the rider in cash when your socks arrive. |
| Payment instructions | Shown on the order status page and in the order confirmation. | Keep the exact amount ready. |
| Enabled at checkout | Ticked: buyers can choose it | ticked |
For Custom payment method, the window adds Custom payment method name:
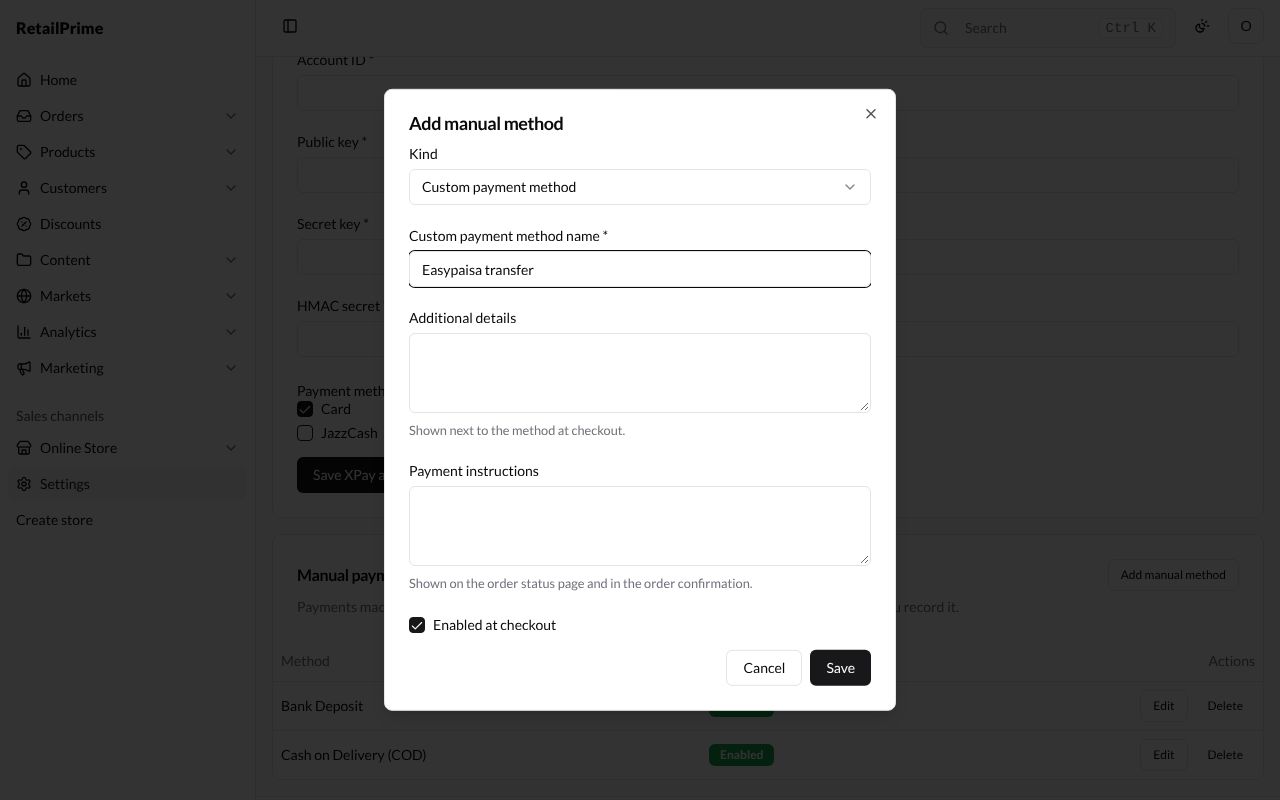
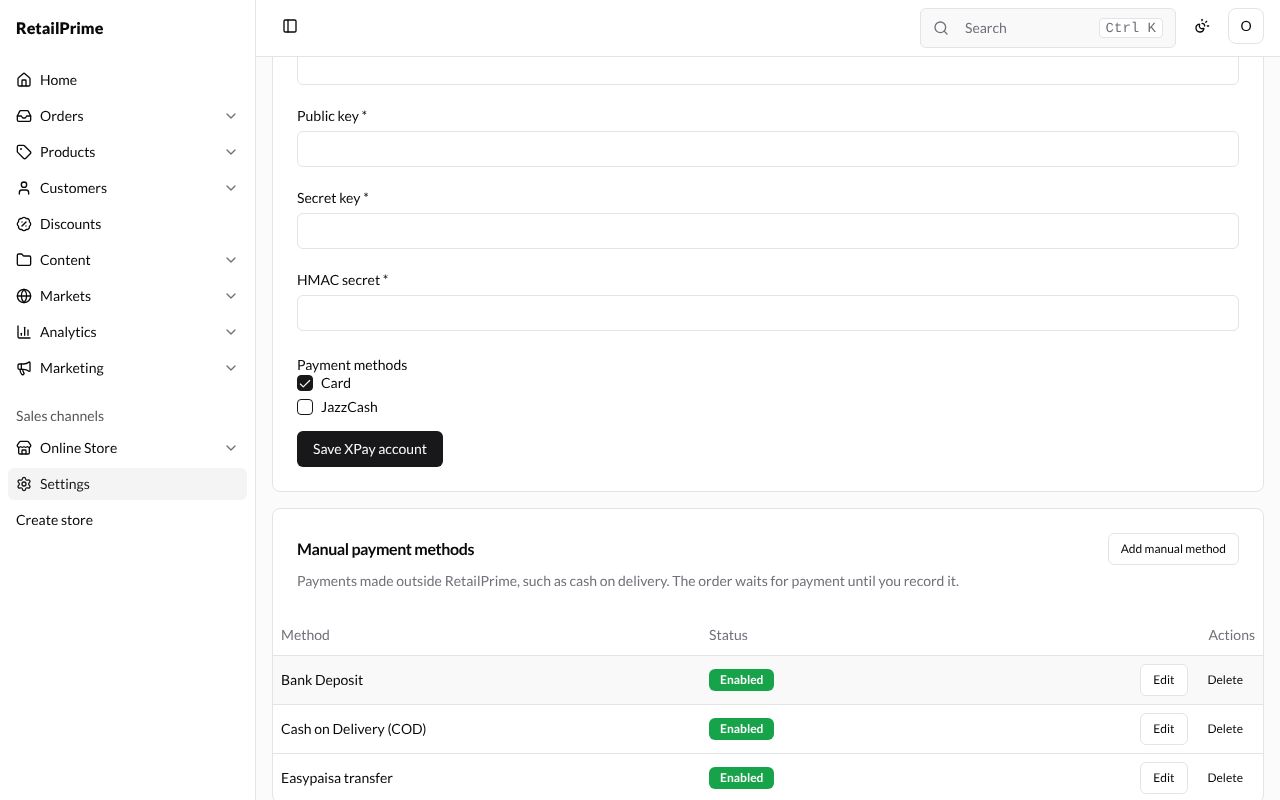
- Press Save. The method is listed with Enabled (or Disabled), and Edit and Delete buttons.
Edit a manual method
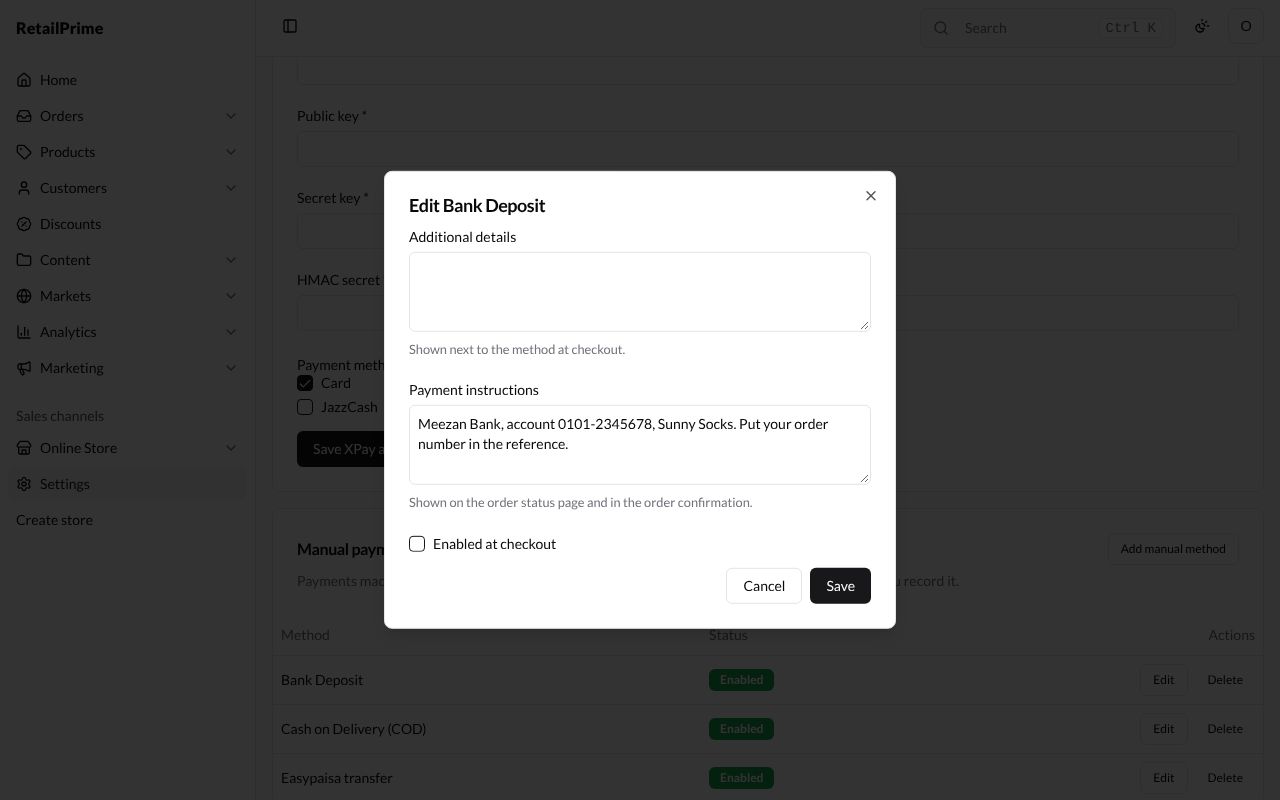
Press Edit on its row. The window (here Edit Bank Deposit) has the same boxes except Kind. Untick Enabled at checkout to hide it from buyers without deleting it, then press Save.
Delete a manual method
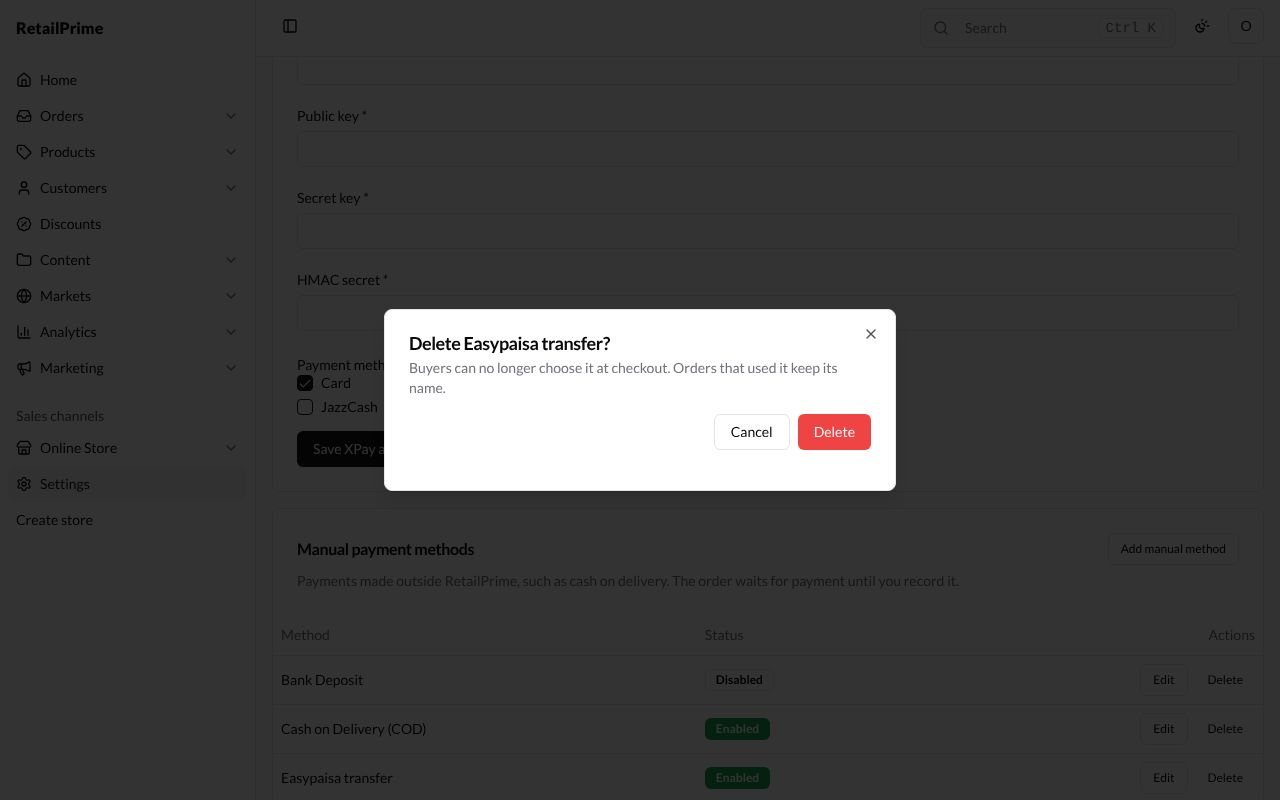
Press Delete on its row. A window asks Delete Easypaisa transfer? and says Buyers can no longer choose it at checkout. Orders that used it keep its name. Press Delete.
At checkout, buyers see the enabled methods next to Pay online, as in the picture on Checkout.
What’s next
Checkout: choose what buyers fill in when they pay.